
How to make tinctures
How to make a Tincture
This guide will be the backbone of the entire course.
Most of the recipes you find this course will be in a tincture solution.
Why?
Because tinctures are incredibly effective.
They bypass your entire digestive tract and are immediately absorbed into your bloodstream.
This is good for two reasons.
- Your digestive tract is only able to extract about 50% of the medicinal qualities from supplements.
- If you’re unhealthy, your digestive tract probably isn’t able to absorb even 50% of the medicine. This ensures maximum absorption by going straight into your blood.
Tinctures also last for quite a long time depending on the medium.
Glycerin: 2 year shelf life
Alcohol: 5-10 year shelf life
Whereas pills can start to lose their potency in as little as a year.
Let’s get started…
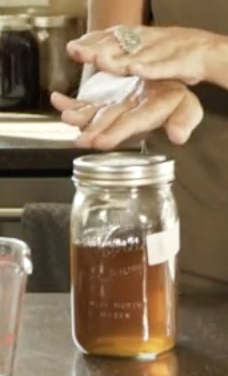
STEP 1. FILL YOUR JAR
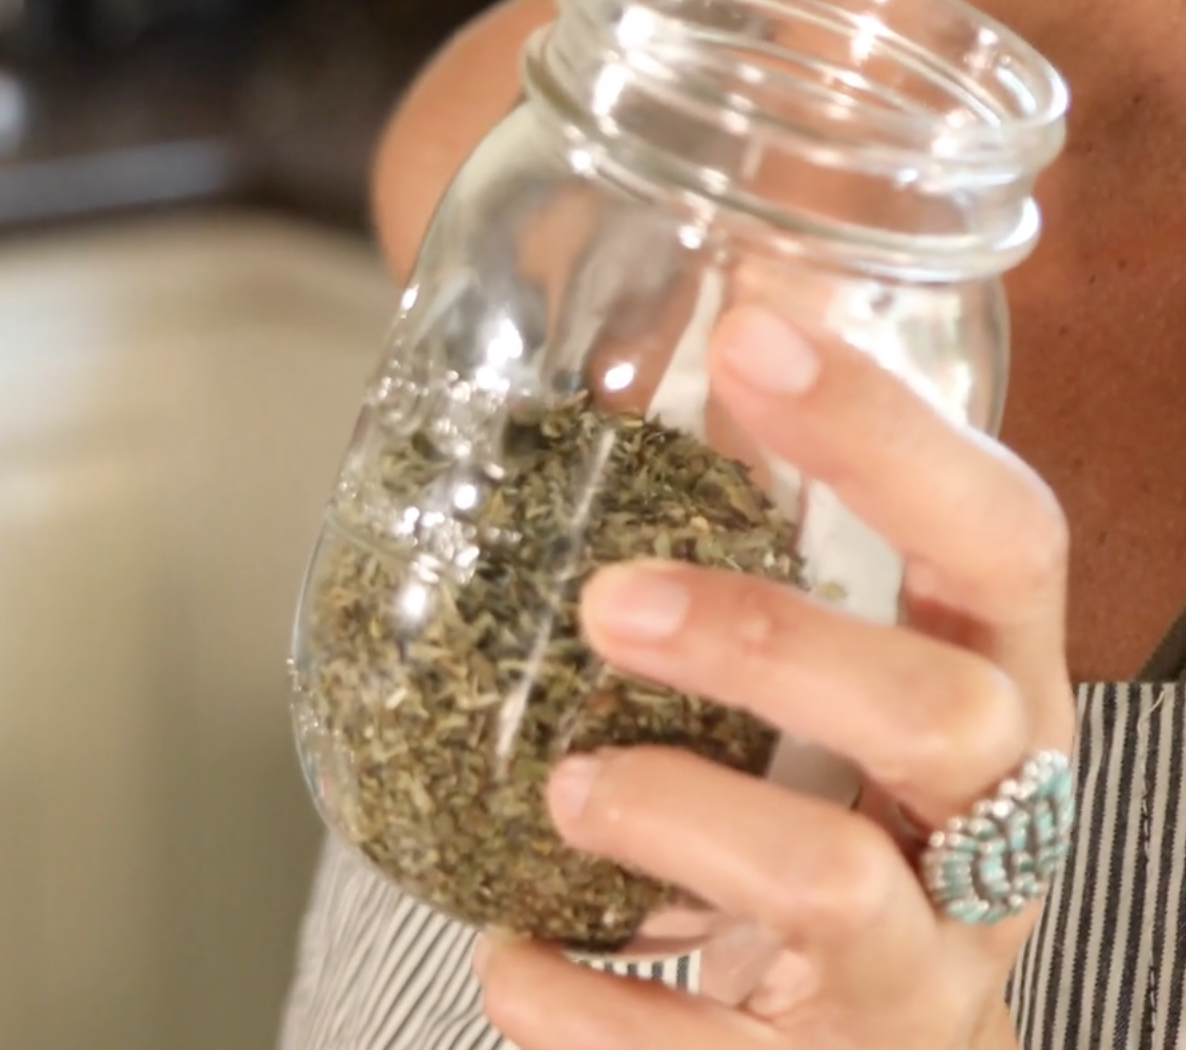
You always want to use a glass jar for tinctures.
Fill it with the herbs you’re wanting to enjoy the medicinal compounds from.
You can do this with one herb (as shown) or many.
STEP 2. ADD MEDIUM
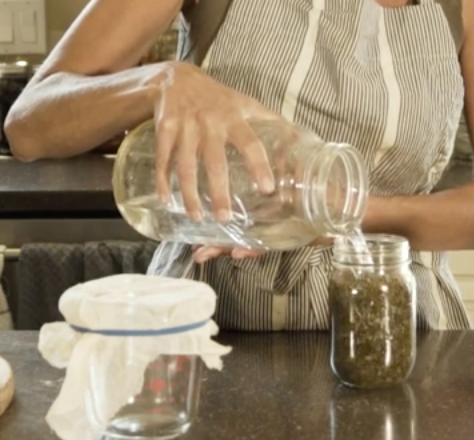
Add your medium. In this case we’re using Vodka.
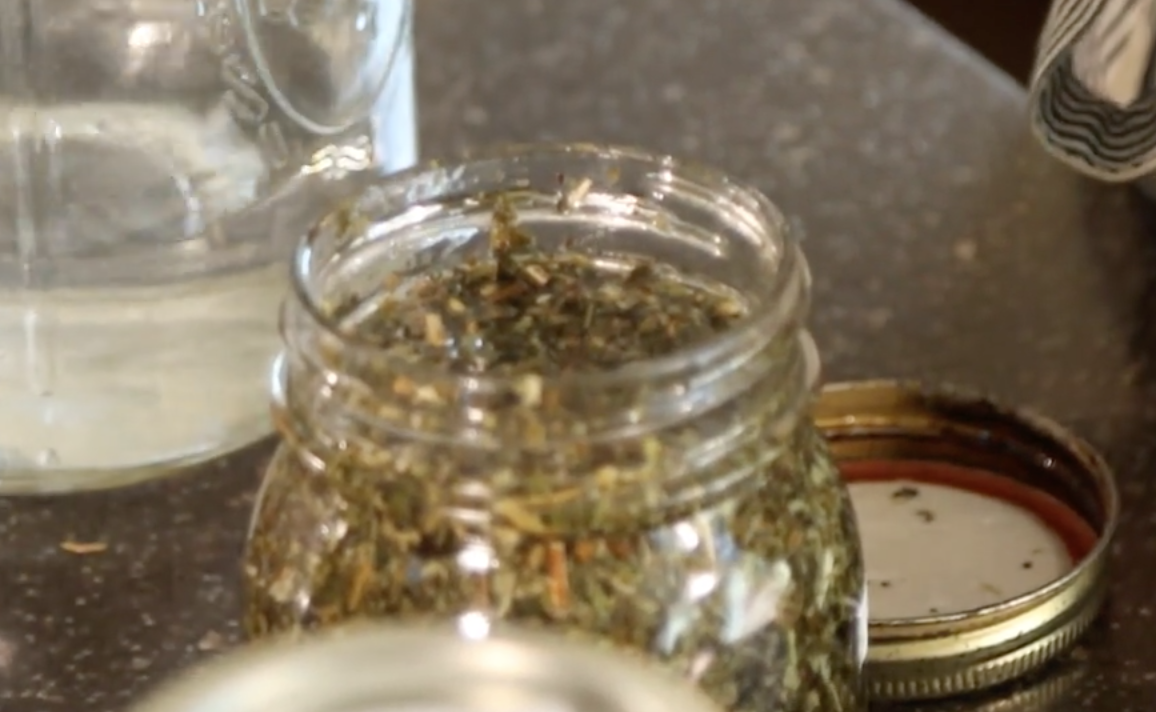
Fill it right to the brim. Being sure to leave some head room.
| ABSORB MUSH? If you’re using mushrooms, be sure to leave more headroom than pictured, as they often absorb the medium and expand. |
STEP 3. CAP “N” SHAKE
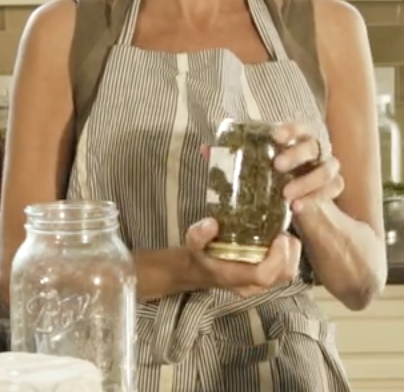
Securely screw on the cap, and shake it around. Make sure there’s no dry herb left.
If you have multiple herbs inside, you may find stirring it up first as a more efficient way to soak all of the herbs.
You want it all soaked in your medium so the maximum amount of medicinal compounds can be extracted.
STEP 4. EXTRACTION
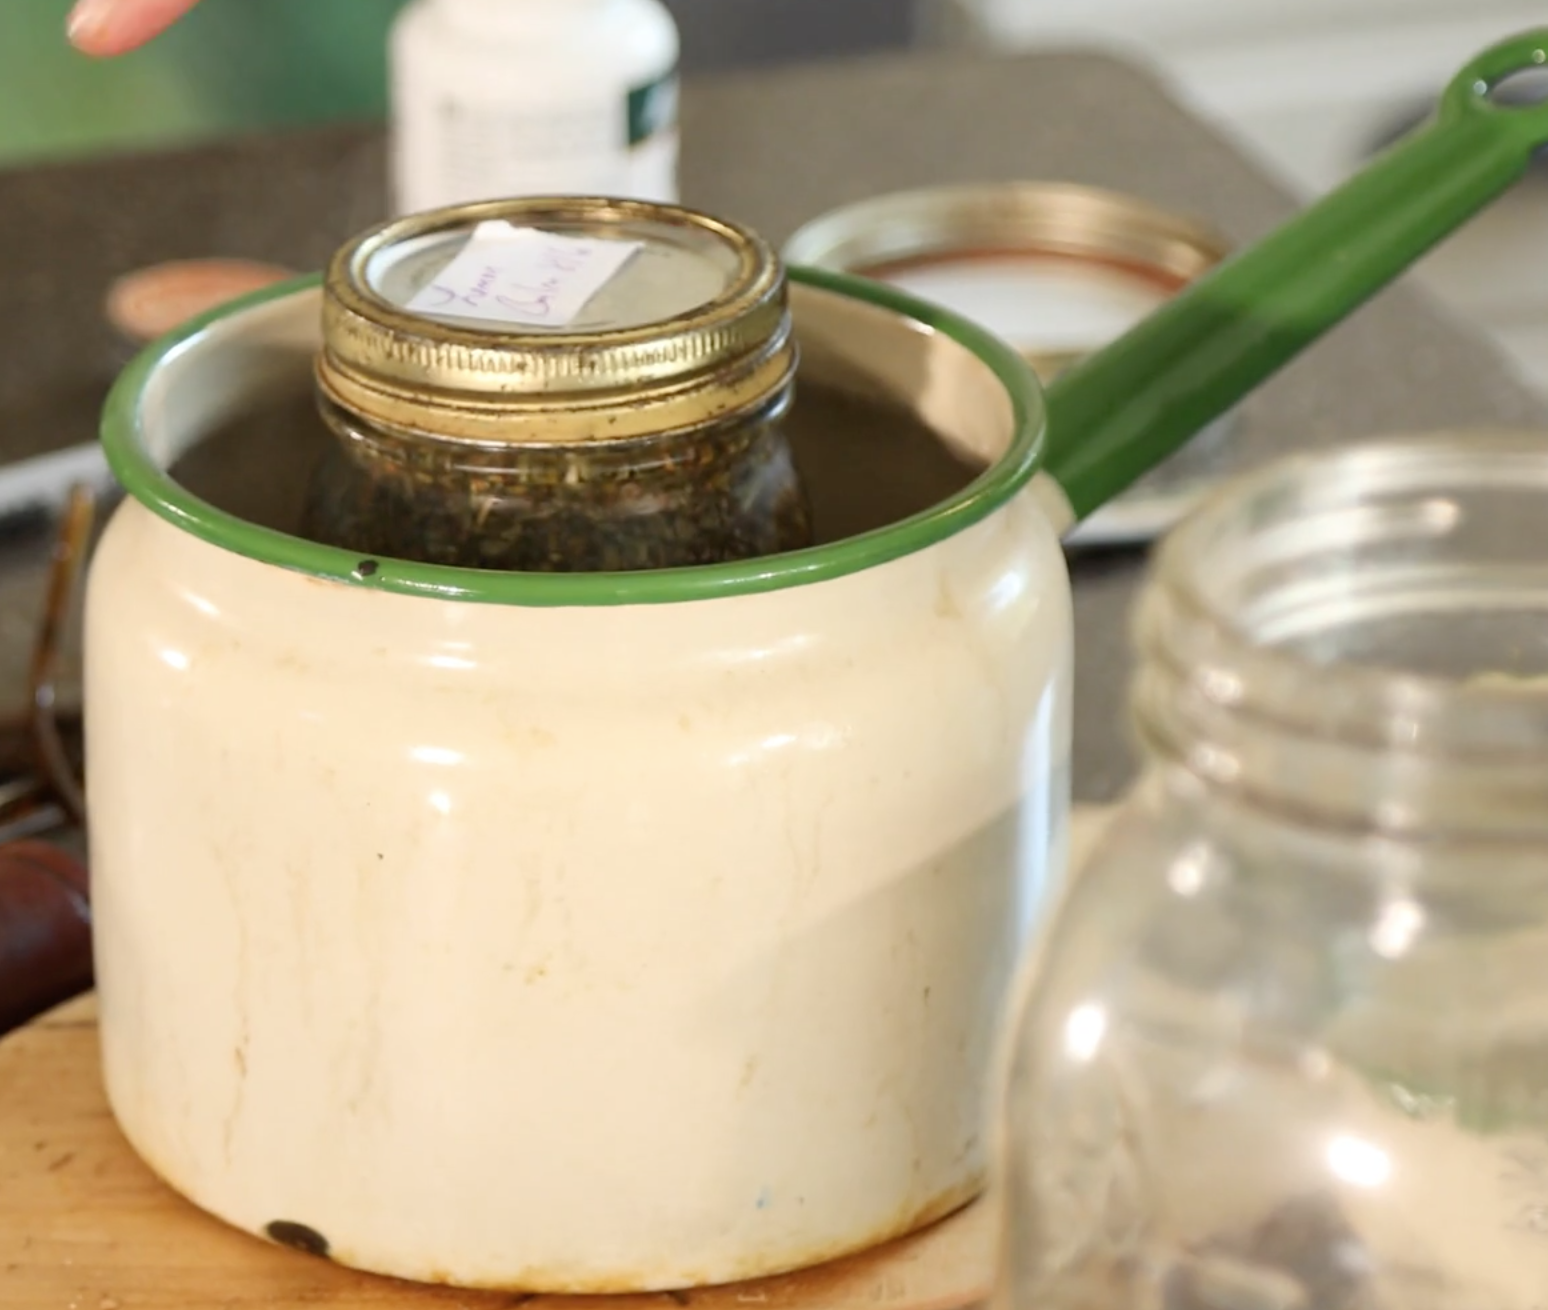
(Place in a pot of water and simmer for quick usage)
There’s two methods of extraction.
The first method takes the longest, but is the easiest. And that’s to simply shelve it for 2 months.
The second method is much faster, but does take some monitoring.
Place in a pot with water, and simmer for a couple of days. With this you need to ensure that you’re not allowing any of your solution to boil, as that will burn off a lot of the medicinal compounds.
Again, the only difference between the two is time spent.
It’s entirely up to you.
| ALTERNATIVE HEAT: If you’re uncomfortable leaving your stove on for such a long period of time. Feel free to use a crockpot for your heat source instead. |
STEP 5. STRAIN
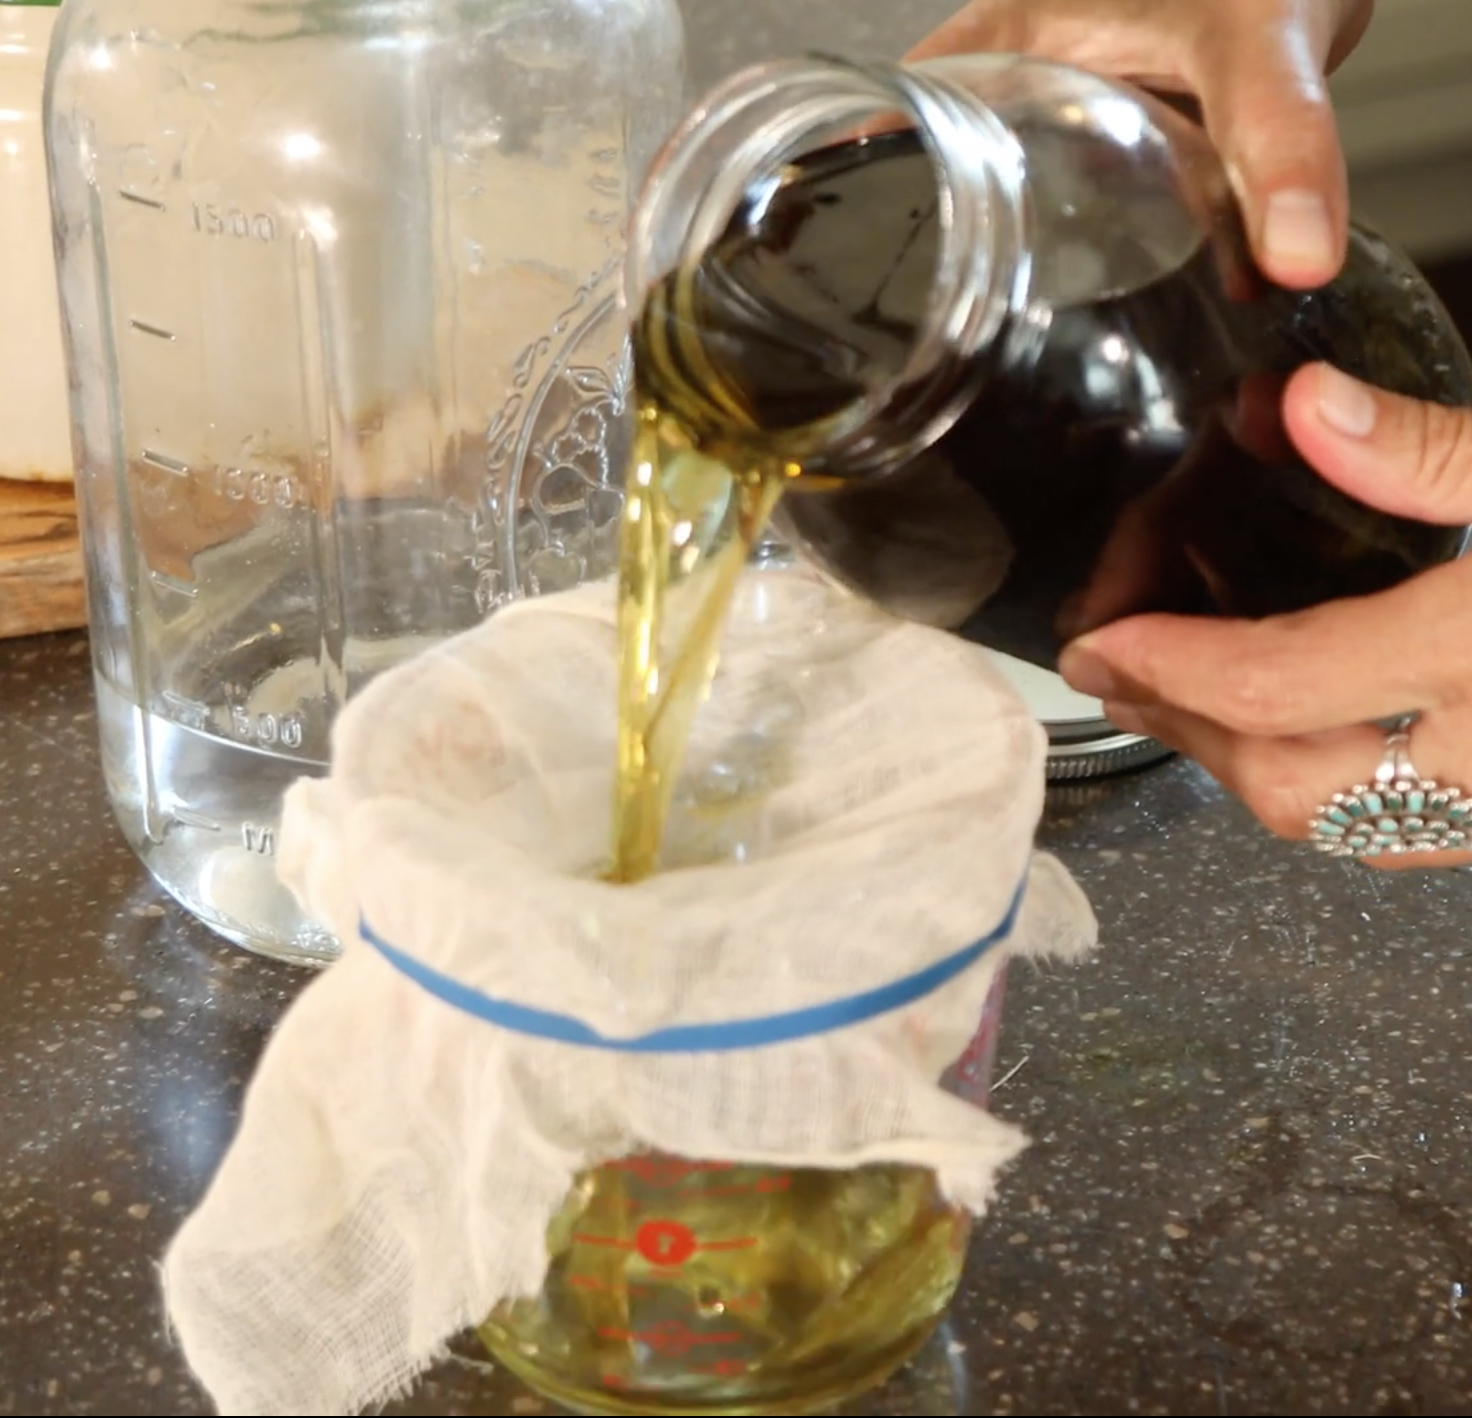
Take a measuring jar and place a cheesecloth across the top. Secure with elastic band.
Pour your solution over the cheesecloth.
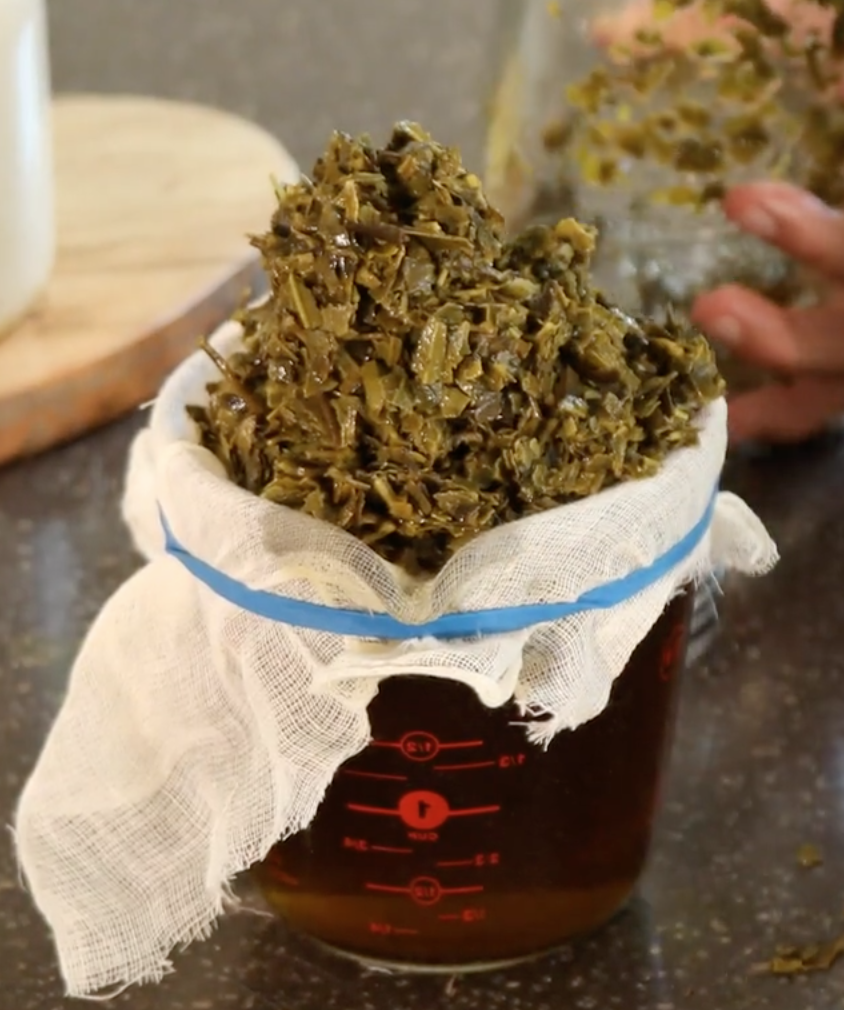
Pour everything out until your raw material is sitting on the cheese cloth as shown above.
Let this sit for roughly an hour for all of the liquid to strain through into the measuring jar.
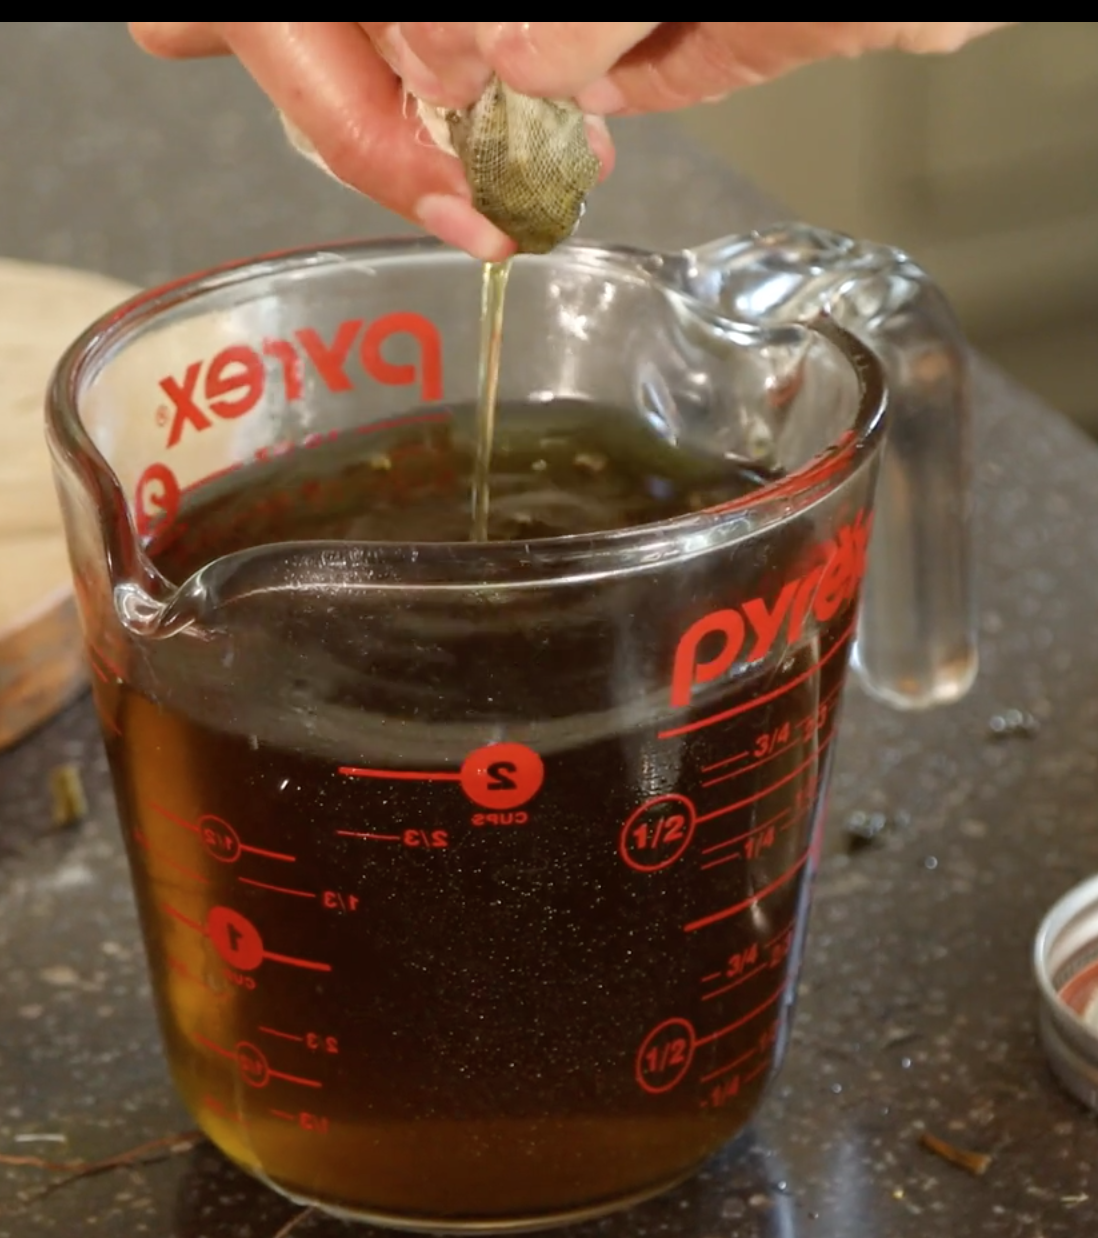
After 1 hour has passed. Come back and remove your cheesecloth, squeezing the raw material inside to make sure you get out all of that sweet medicinal liquid!
You can then discard the cheesecloth and raw material.
STEP 6. LABEL
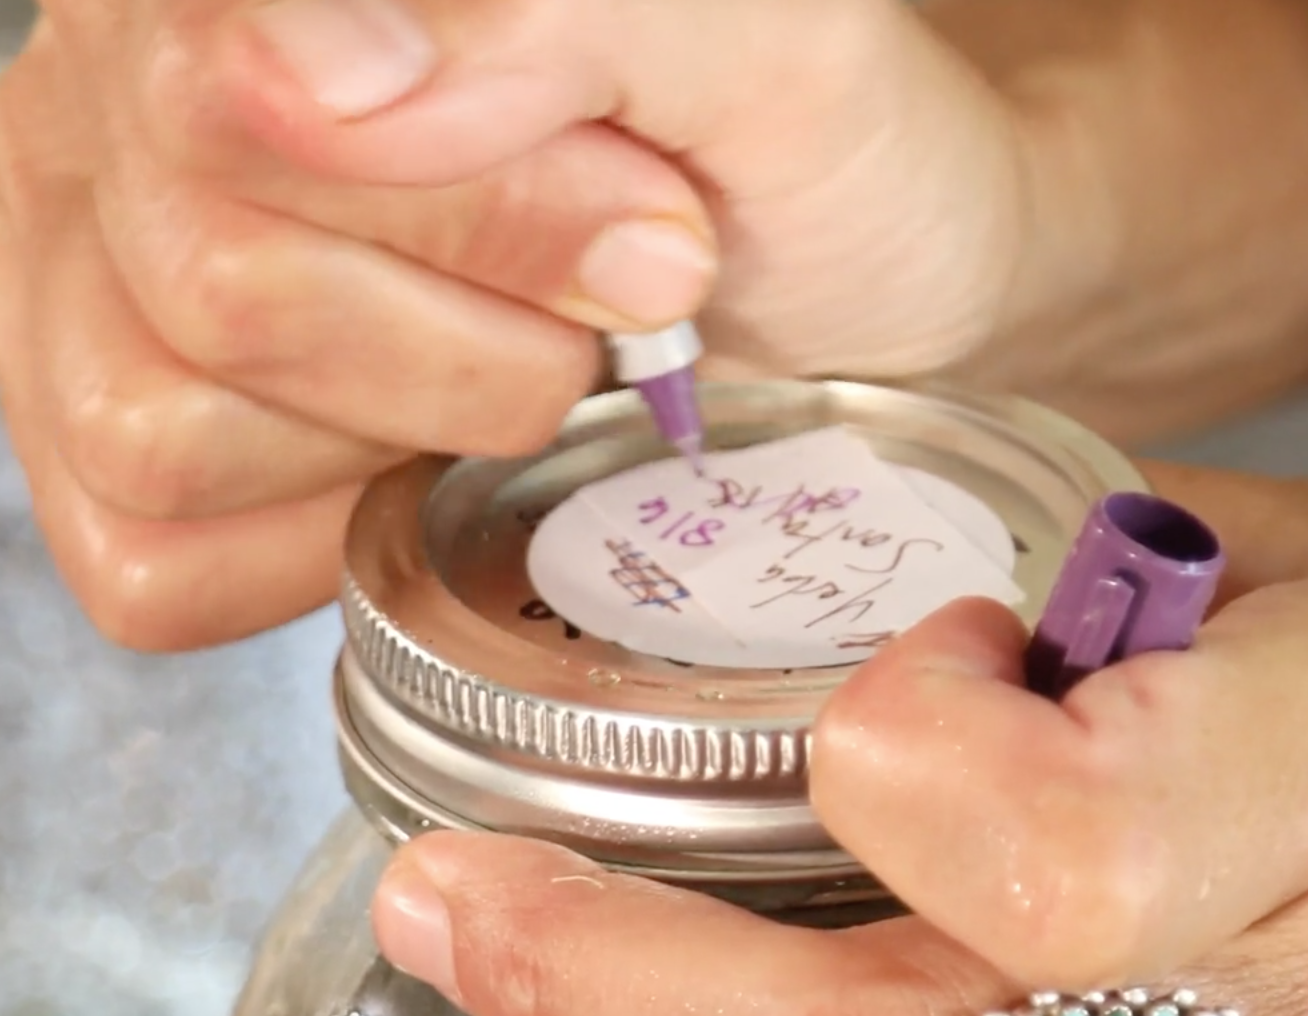
Lastly, you want to label your jar!
This is an easy one to overlook, but, when you go digging through your cupboards in a couple of months. You want to know what’s ready to use… and more importantly, what it is!
That’s going to be difficult when you follow through with the rest of the videos in this course and start making all of the amazing tinctures available.
DOUBLE EXTRACTION
Now, if you’re doing a mushroom or lichen tincture you’ll have to do what’s known as a double extraction.
Why?
Because you extract different medicinal compounds in alcohol than you do from water. In doing both, you get ALL of the medicinal qualities from lichens and mushrooms. And ultimately the maximum benefits from them.
First off, do exactly as the previous steps suggests.
The only difference in this case is you’re going to take your herbs (mushroom and/or lichen) and extract them again.
So after you’ve strained your liquid from your raw material, you’re going to KEEP the raw material opposed to discarding as you did in the previous step.
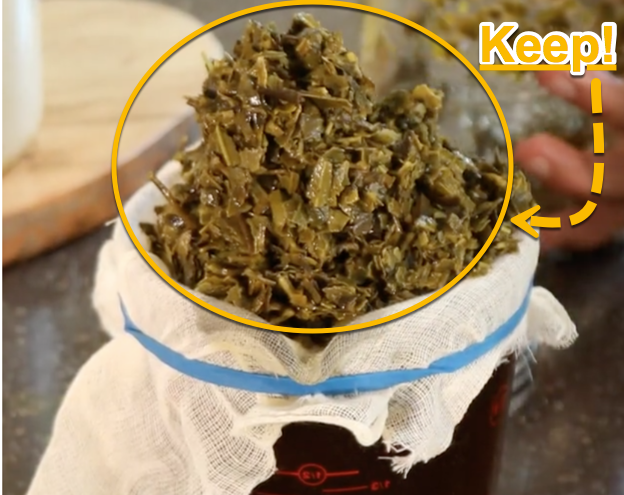
Take that material and put it into a pot.
Pour water into the pot and simmer it on low for the day.
Then repeat the straining process from before. Strain your material through a cheesecloth, and pour your water solution in with the vodka solution you strained off previously.
Key thing here is to maintain at least 30% alcohol content.
So, since you’re using Vodka (40%) you can fill your container up about a ¼ of the way with water, and you’ll still maintain a good alcohol content. Great for a long shelf life.
JARRING
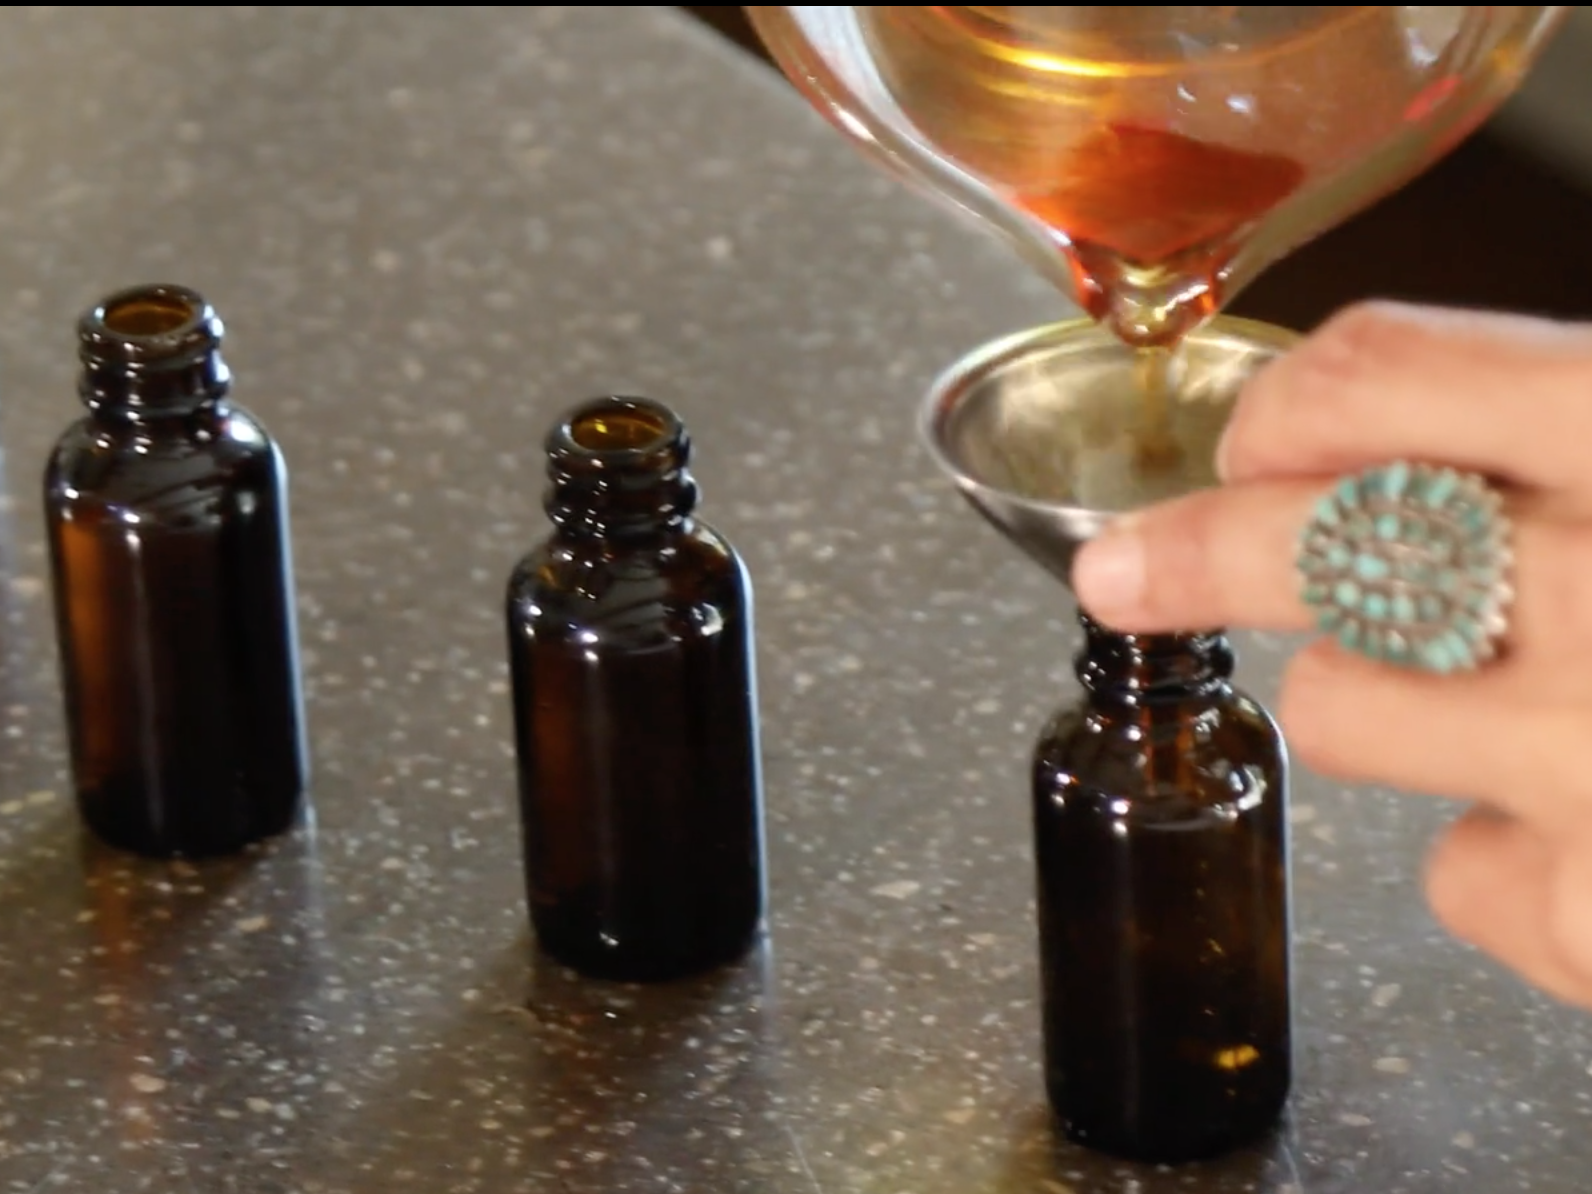
Take your dropper bottles and pour your medicinal compound into each one using a small funnel.
This is why I like to use a Pyrex measuring jar to strain my compound into. It makes pouring it into the dropper bottles very simple.
| Cleanliness: You might be worried about cleanliness since we’re making medicine. Provided your surfaces aren’t overly dirty, you can feel confident knowing the Vodka will purify any minor germs. |
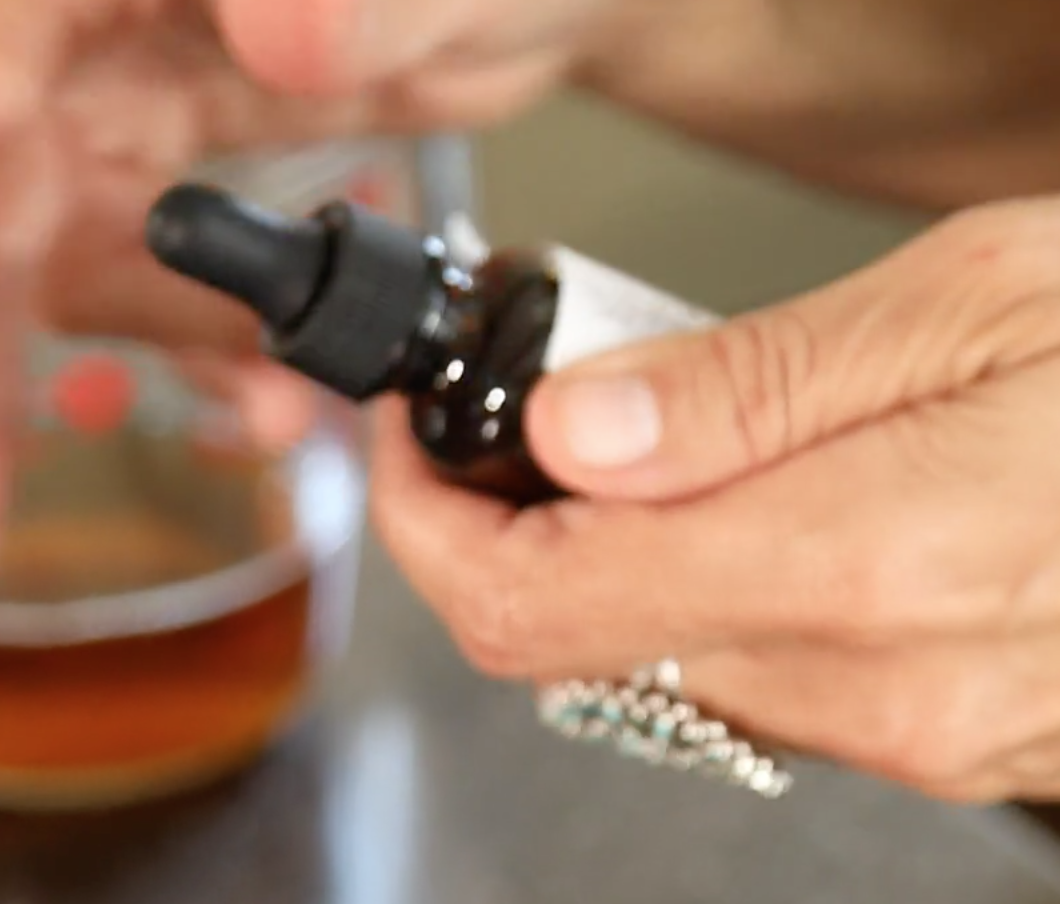
Label the dropper bottles so you know what’s in each of them!
| METHOD TO THE MADNESS: Notice how you’re putting the labels on AFTER you poured? That’s on purpose. Sometimes you can overfill and have some spill out. Ruining your labels. |
STORAGE
Take the remaining tincture, and store in a cool dry place. Cupboards are perfect.
No need to store it in your fridge.
However, you don’t want it exposed to excessive heat as that will breakdown your compound and lose its medicinal qualities.
DIRECTIONS FOR USE
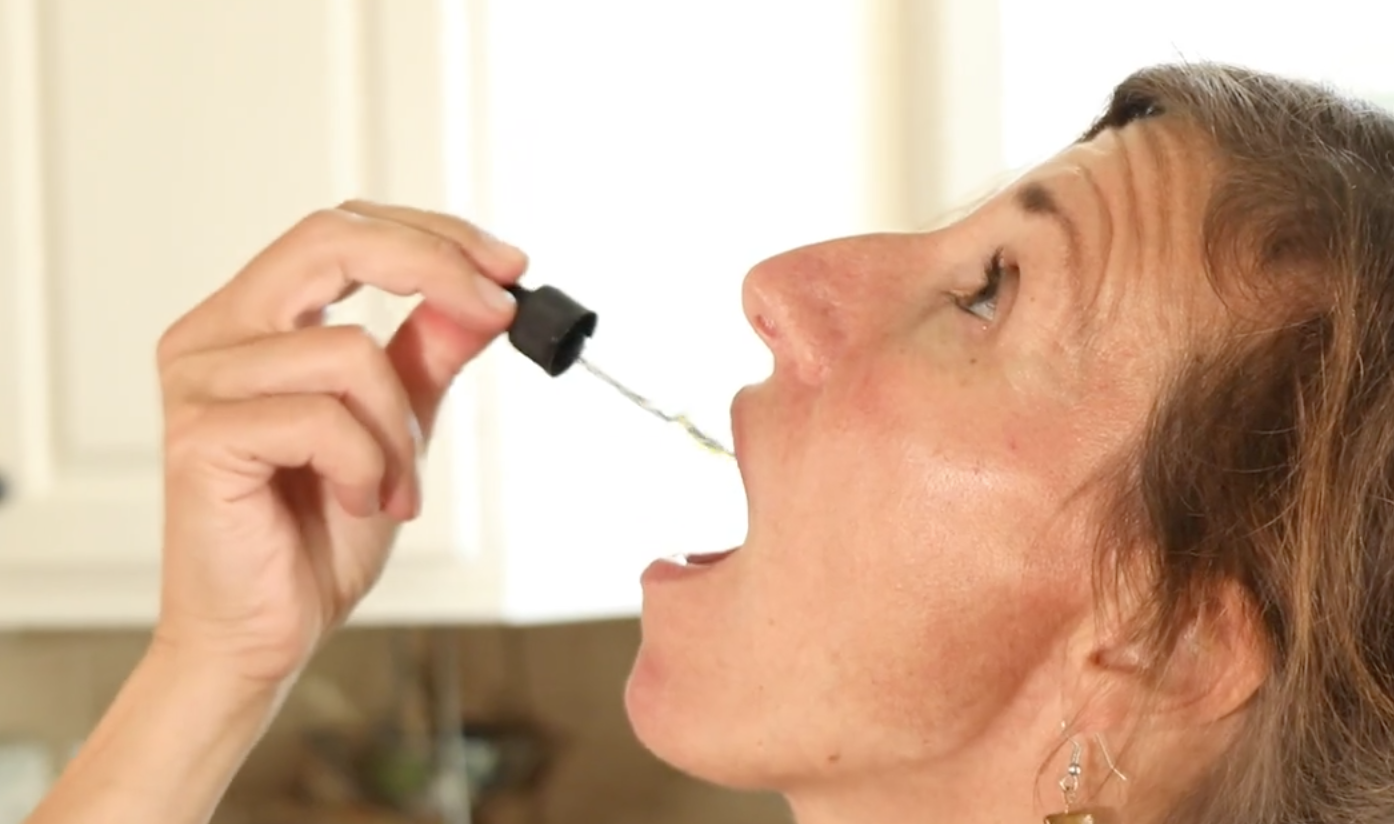
Simply fill your dropper, and drop it under your tongue.
Make your tinctures strong so one dropper is enough to take care of any ailment.
If it’s an acute ailment, you can take up to three droppers a day.
That’s it!
You may want to print this guide out and put it aside for reference as you go through the tincture recipes.
Also remember to use double extraction with mushrooms and lichens.
Begin adding tinctures to your everyday life and you will be amazed at the results. They’re quick, effective and convenient.
Until next time.
Stay healthy,
Dr. Nicole Apelian.
August 24, 2019 @ 5:43 pm
Thank you this looks very easy . I look forward to future remedy’s
August 25, 2019 @ 9:05 pm
Such great knowledge!
August 26, 2019 @ 6:01 pm
Thank you for a clear and concise procedure, well illustrated.
October 3, 2019 @ 12:44 am
This is amazing! I am very happy to learn this method. Thank you.
October 3, 2019 @ 12:05 pm
Great information