
How to make salve
How to make salve
What are salves? Salves are ointments with some sort of herb infused in the oils, and have a number of benefits to address health conditions.
How to Create a First Aid Salve
In this guide you’ll learn how to make my first aid salve.
This is my best selling product due to its effectiveness, and wide range of applications.
And lucky you… you’re going to learn how to make it for free!
Now, a salve is something that you use externally by placing it on your skin.
Unlike a tincture in which you take orally.
Let’s jump in…
Ingredients
Let’s first discuss the ingredients you’ll be using.
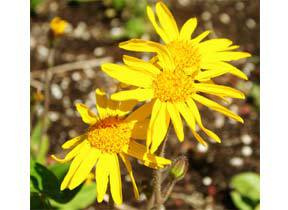
Calendula
This is an amazing plant for rashes, bites and stings. It also helps rebuild collagen and has anti-inflammatory properties.
I use it in almost all of my salves.
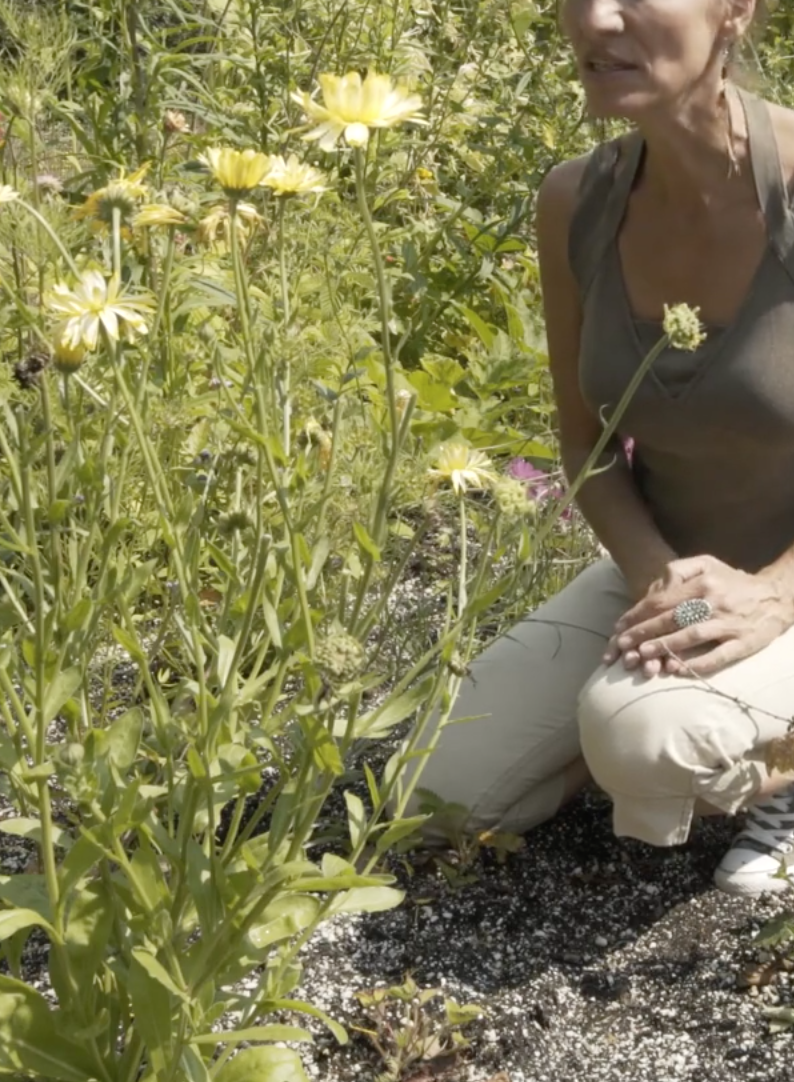
Plantain
Next is plantain.
This isn’t your banana strain. It’s of the plantago species. It’s jam-packed with medicinal qualities.
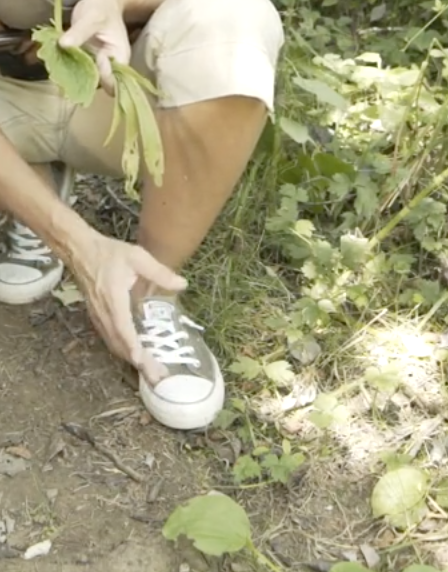
You’ll find this plant in disturbed areas like walking trails.
This makes it convenient to harvest, however, it almost means you have to be cautious it hasn’t been “abused”.
AKA, people trampling them, or even dogs peeing on them!
It’s worth the trouble finding due to its medicinal qualities. Helps with bites, stings and swelling. It also contains tannins which acts as an anticoagulant to stop bleeding.
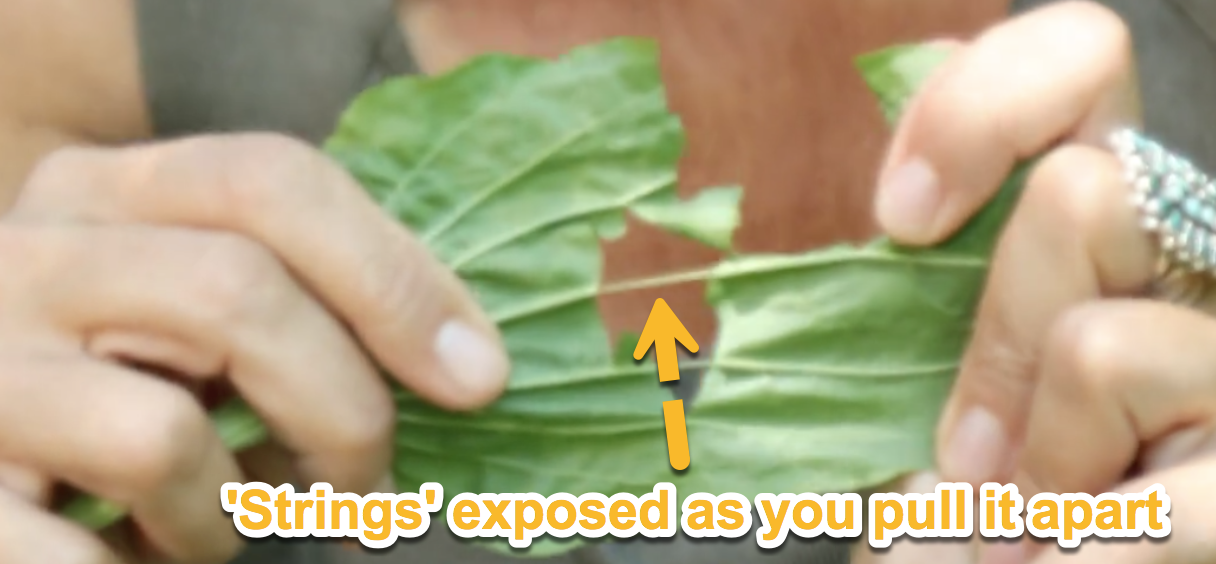
| Easy ID: As you pull the leaf apart you should see “strings” become exposed as the leaf rips. |
Arnica
Where Arnica really shines is its ability to alleviate pain.
It’s often applied to the skin to help with bruises, aches, muscle pain and even arthritis.
Not much else to say on this one.
Pain relief is a big bonus when you’re in a survival situation, or on a hike far from home.
Yarrow
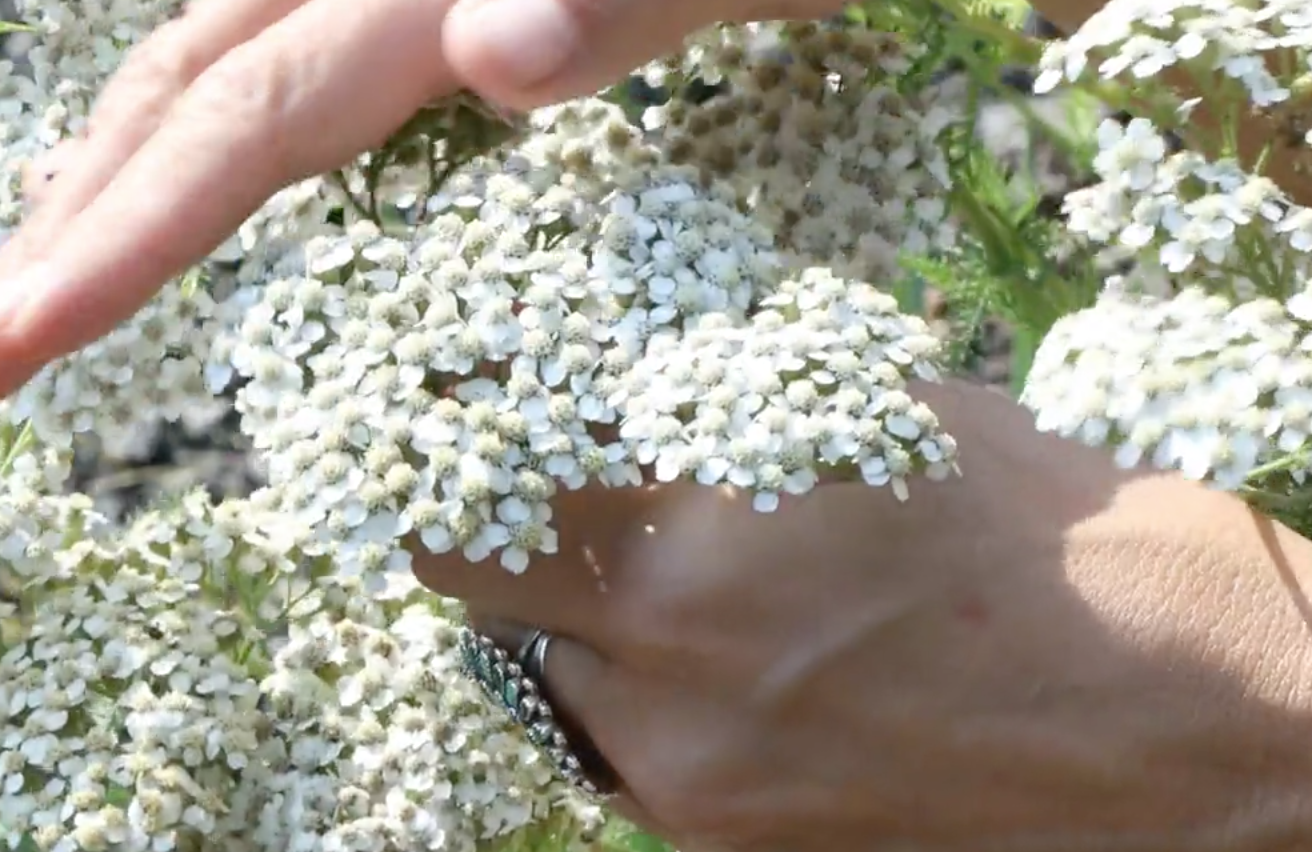
Yarrow is a wonderful anticoagulant and anti-bacterial.
It’s easily identified with white flower clusters a top and fern-like leaves below.
It’s abundant along roadways. You’ll start spotting it everywhere once you know how to identify it.
| The Warrior Solution: Yarrow is also known as achillea millefolium. The name comes from Achilles, as he was said to use this plant to treat his wounded men. |
Cottonwood Bud
Cottonwood bud is another powerful plant.
You’re actually using the sticky resin from the poplar buds. Works well for burns and as an anti-inflammatory.
Plus, it smells amazing!
Making the Salve
First you want to take all of the herbs mentioned above, and infuse them in olive oil.
To do so simply put your herbs in a glass jar, and fill with olive oil.

Store in a cool dark place.
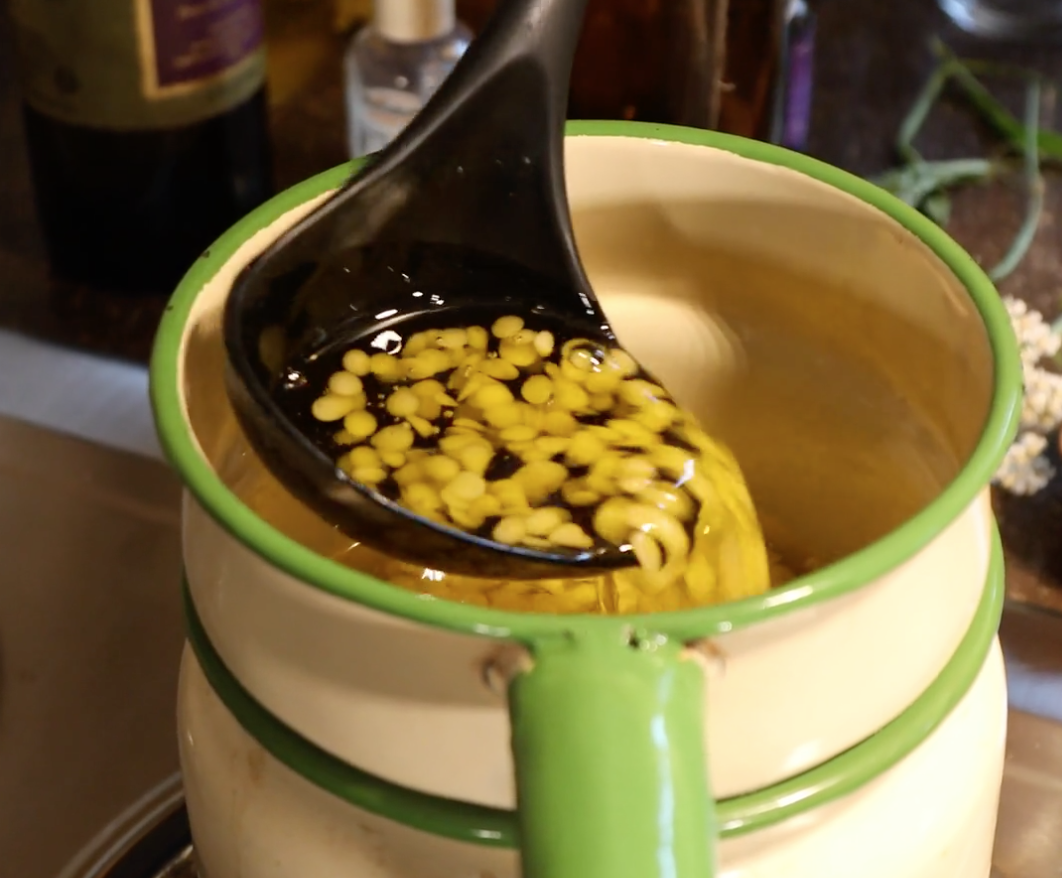
6-8 weeks later it’s ready to be strained through a cheesecloth.
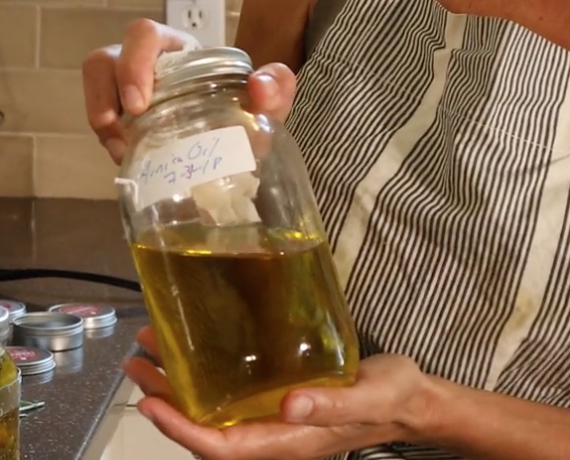
Leaving only the herbal infused olive oil (as pictured).
You want to keep these solutions ‘pure’. This means you’ll have a solution with only calendula, another one with just yarrow etc.
This allows you to mix them as needed when making your salves.
Mix
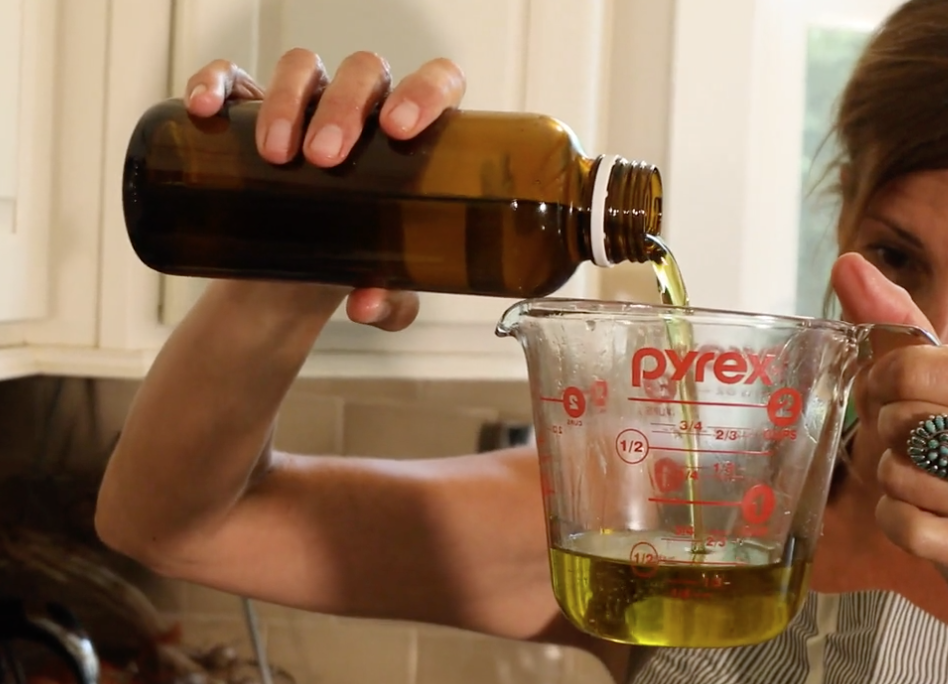
Now you’re going to pour all of your solutions into a jar. I like the pyrex measuring jars as it makes it easy to keep an eye on measurements and to pour afterwards.
With this specific salve, I like to mix everything in equal parts. In this case 2 ounces of each.
Add the Extras
You have should 10 ounces of oil if you put in 2 ounces of each.
It’s important to know as you’ll be putting in beeswax at a ratio of 4:1.
Meaning at 10 ounces of oil you’ll put in 2.5 ounces of beeswax.
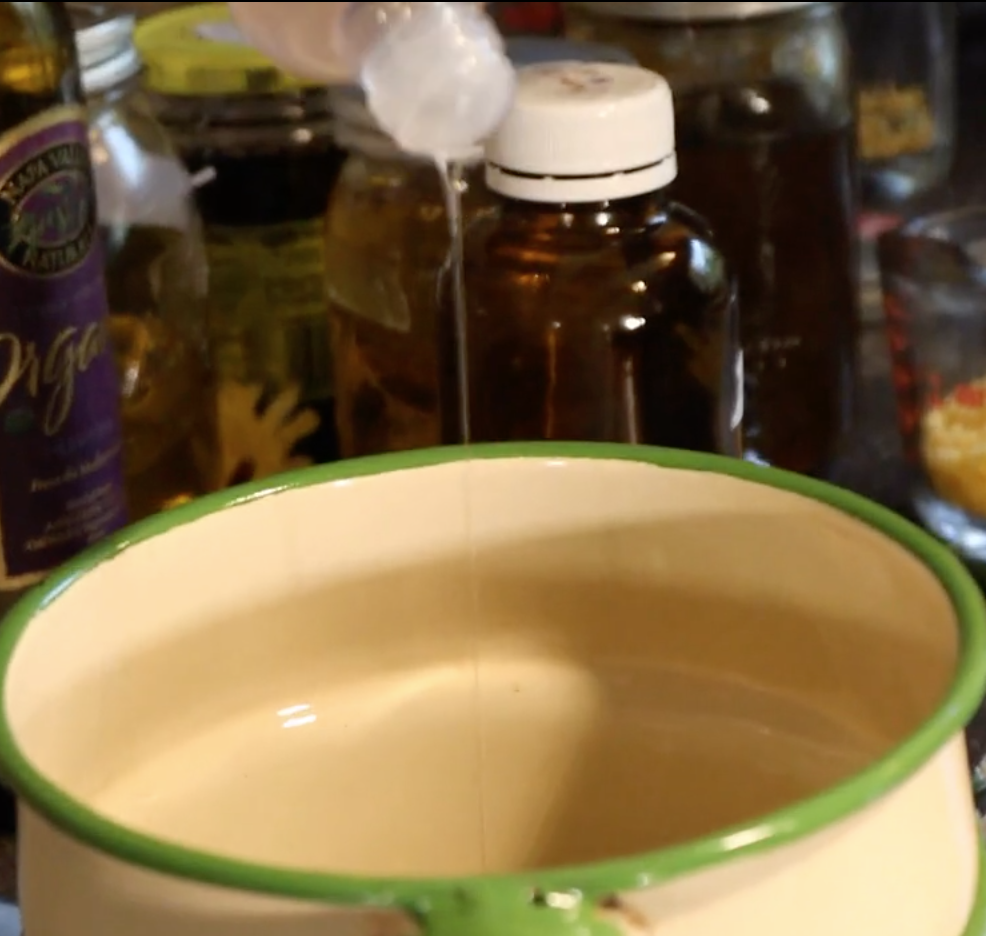
Before you add honey, put in the following…
Lavender

Add in 20 drops off lavender.
Vitamin E
Next is about a quarter teaspoon of Vitamin E Oil.
This isn’t necessary.
But, Vitamin E Oil has been shown to reduce scarring. While also having preservative effects so your oil doesn’t go rancid.
Beeswax
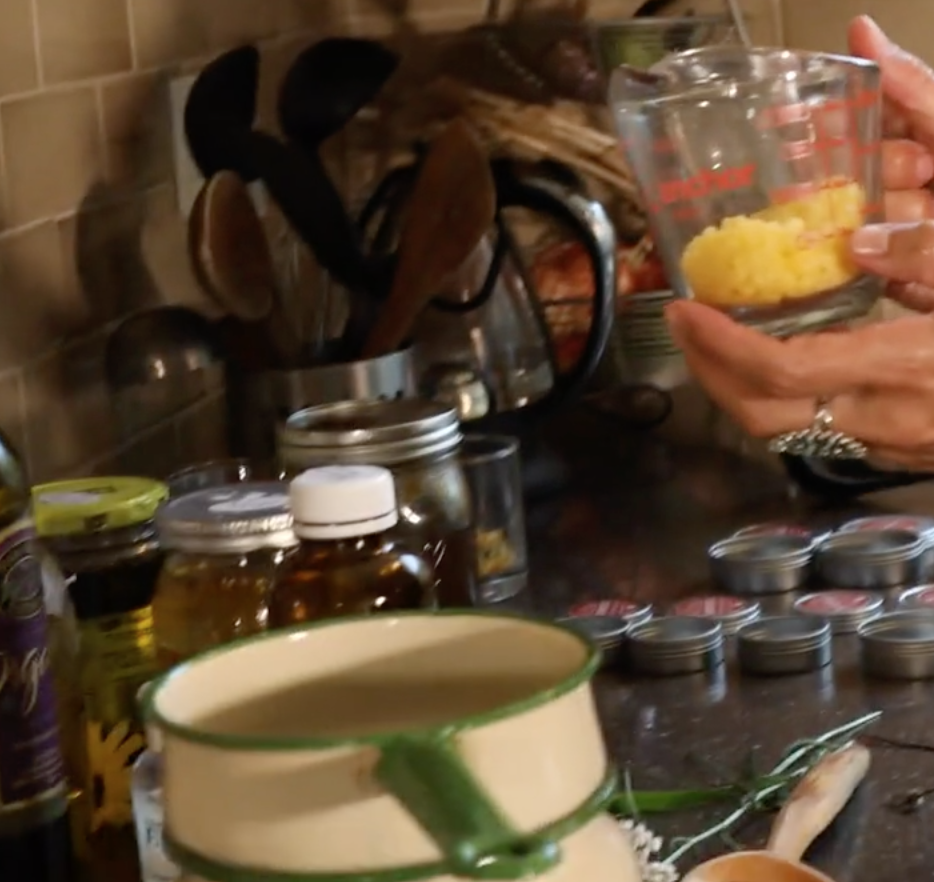
It’s time to add the beeswax.
Again this is based on a 4:1 ratio.
So if you’ve followed along and have 10 ounces of oil at the moment, you’re going to use 2.5 ounces of beeswax.
Pour the beeswax in.

| Pellets vs bricks: I’ve bought bricks of beeswax and pellets. I found the pellets better as they’re easier to measure, and melt quicker. But this is personal preference. |
Stir the beeswax in until its completely melted.
Quality Control
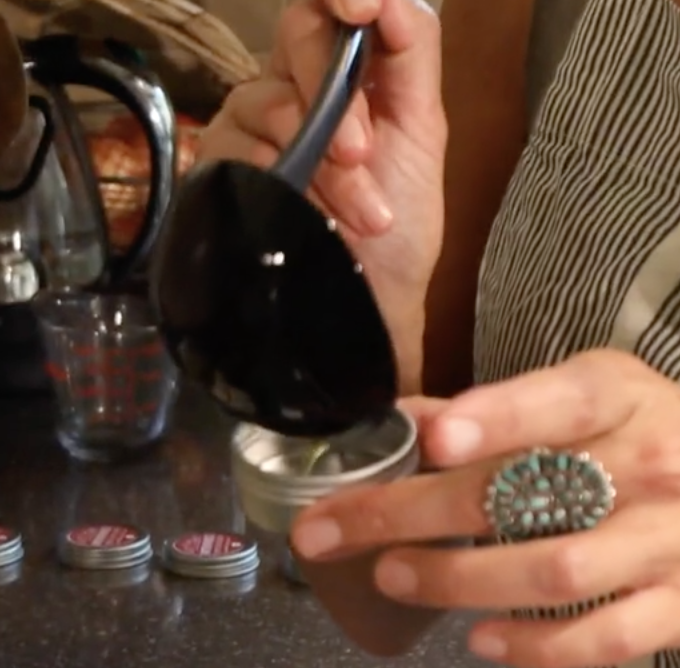
Once it’s melted you want to put a small, small amount in a tin.
Let it harden for about 30 seconds.
Test it by applying some of it to your skin.
If you find it too hard, simply add more oil.
If it’s too soft, add in more honey.
| American Made: I only use organic olive oil from California due to their strict laws on what is organic and what’s not. Places like Spain, Italy and Portugal just don’t have the same laws in place to ensure a truly organic product. |
Pour
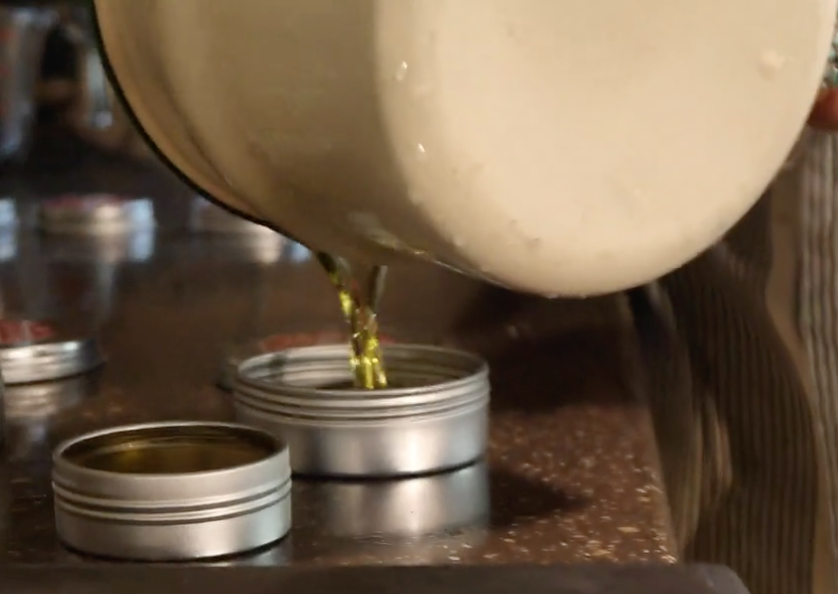
Once you’re satisfied with the consistency of your salve you can go ahead and pour it into your tins.
You might think to hold the tins over your pot and ladle the salve into them. But, keep in mind this is scolding hot oil. So it’s better to put your tins on the counter and pour the salve into them.
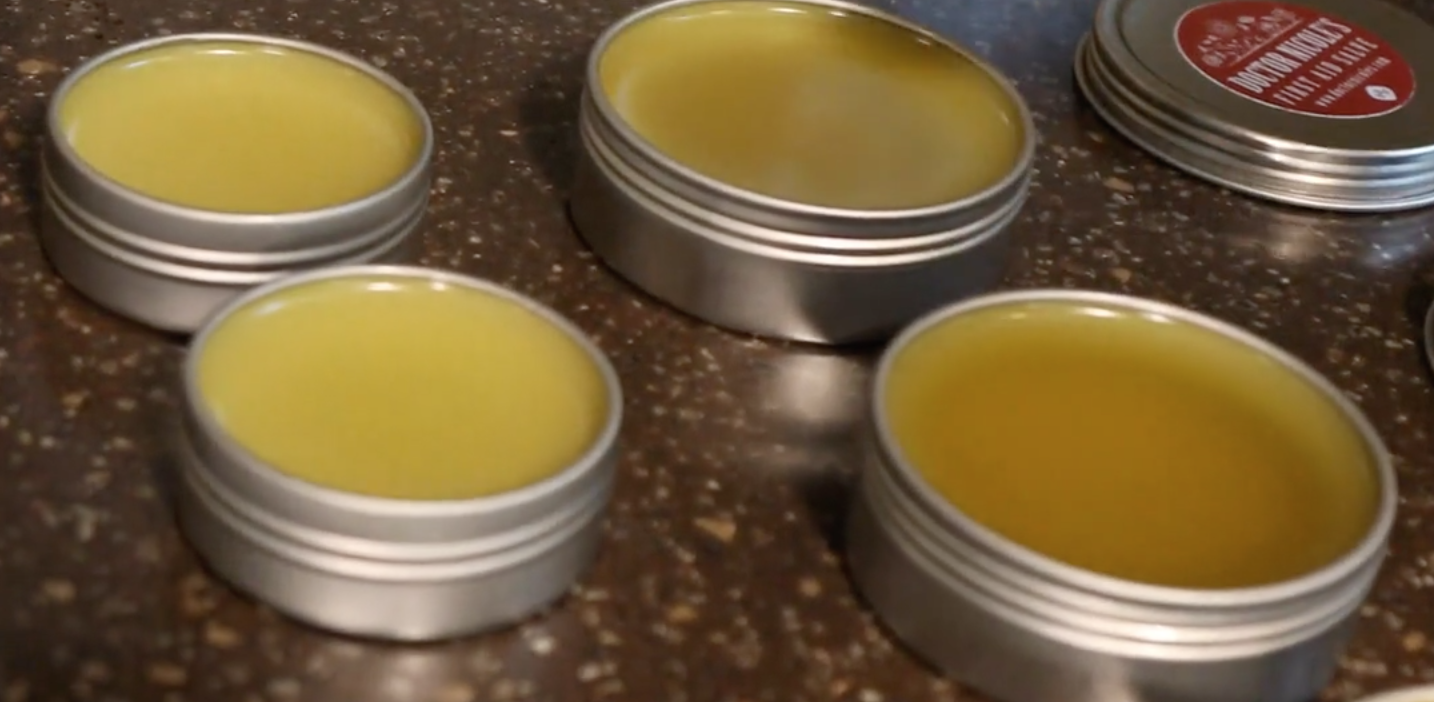
(Salves on left ready to be capped vs. just poured on the right)
You’ll want to leave them out for about an hour and a half for it to solidify.
Once they’re solid, cap them, and label them with the ingredients and date.
That’s it!
This is an amazing way to keep your herbs with you wherever you go.
Extremely convenient, and amazingly effective.
Best of all, you’re not exposing yourself to any of those chemicals in mainstream medicine.
One last note, if there’s any herbs used here that you can’t easily access, go to mountainroseherbs.com. They have a large amount of products, that are all high-quality and organic.
Until next time…
Stay healthy,
Dr. Nicole Apelian
September 8, 2019 @ 10:06 pm
I love your choice of herbs! You might consider Comfrey as a healing agent also, but I will try your salve. Good post.
Toby